Saturday, 16 July 2016

First Free Motion Applique

My first attempt at free motion applique was a thank you gift for the lady who taught us at quilt retreat how to do this technique.  I knew she liked green, so that was my starting point - green with white dots for the 'wallpaper' background.  I then decided to add a window with curtains, a little cobweb peeking out on the righthand side.  I cut out each petal and played around with where I wanted them, plus two leaves, a stem and the flower pot.  As a little 'in joke' I added a yellow/blue plaid 'tablecloth' because we have a running joke between us - I like yellow and blue together, she doesn't!


Then, because it needed something else, I added a little bee and the word "Thanks" since that's why I was gifting it to her.  I have really enjoyed learning and now continuing to finesse it. 


Teacup Table Runner

This was a surprise gift for a lady in our little facebook quilting group.  It was also my first foray into a few new techniques.  The background of the table runner is the first time I've used "low-volume fabrics" - these tend to be paler, have less pattern within them and when seen from a distance appear to sort of blend in with each other so it is just a total background rather than made up of individual pieces.  After ironing each piece of fabric on to the heat-n-bond, I then went over each seam with a fancy stitch from my machine.


It was also my first time with a larger free motion applique which I'd designed myself - with help from Pinterest ideas.  I made all the templates for each cup, saucer and the bird, came up with the phrase and also did all the binding with no assistance! 


It took me several attempts to get the layout right for the teacups, in fact I still have a few teacups waiting for another project that I cut out for this one and then decided they weren't quite right. 

I was really pleased with how this one turned out and also that the recipient loved it too.

Thursday, 30 June 2016

More Sock Puppies


After a bit of perusing on Pinterest, I found the cutest sock puppies.  I followed the link and realised the pattern was available to purchase, which I promptly did.  I made a practice sock puppy and...then I took a bit of a break from making anything from socks....I'd made so many monkeys I was kind of 'over it'.  Six months later I was asked to make those monkeys for the two little boys who were losing their mother to cancer.  That kick started me to want to make monkeys again and I finally pulled out my puppy pattern too!

I've now made three sock puppies, they've all come out so differently and I've adapted the pattern to suit how I want them to look.  Each one is slightly different as I've adapted them each time I've made them!

The second puppy I made has a plain navy body with green and navy striped arms and tail.  The tail of the puppy is slightly shorter than the monkeys - I've actually made two different tails; one a little stubby tail and the other about 1/3 to 1/2 the length of the monkey tails.  Please meet Rufus (as in the ruff ruff sound a dog makes....)


I then decided dogs don't have to be plain coloured, so what if they're red or blue or yellow?  Monkeys don't come in pink or orange or green but I make the sock monkeys in those colours!  So the next puppy I made, Barkley, has red, grey and dark grey stripes on his body with dark grey and little red patterns on his arms, tails and ears.  The ears of the puppies are also different to the monkeys because they have a little bit of fabric sewn to the underneath and they're much larger. 


Barkley also has those little dimples that you see on cartoon dogs to represent their whiskers.  They're my own form of an adapted French knot from embroidery - I never did learn to do them properly!!  Their noses are made with the heels of the sock instead of the toe like the monkeys are.  Then a little piece of black felt in a rounded triangle is added for the actual nose, embroidery thread for the mouth.


Wednesday, 25 May 2016

Table Runner - Christmas Tree

I received a lovely Christmas tree runner from my partner...it's beautiful!!  The photos really don't do it justice, there's gold threads and sparkles throughout.
It really was wonderful to hang it on my wall, instead of on a table, where everyone who came into the house could see it.  I hung it in the living area, beside the fireplace, so there was a Christmas tree in that room too!  The stockings hung on the fireplace (small decorative ones) with a green tablecloth over the fire so it was more like a stand than a fireplace.
Close ups of the big stars and the Christmas tree with presents below.  The Christmas tree has little gold flecks through the fabric.  The star has gold flecks in the red fabric.  There's gold threads throughout the quilting.  The triangles in the centre top, bottom and sides is a poinsettia, very Christmas-y.  So proud to have received this beautiful work of art!

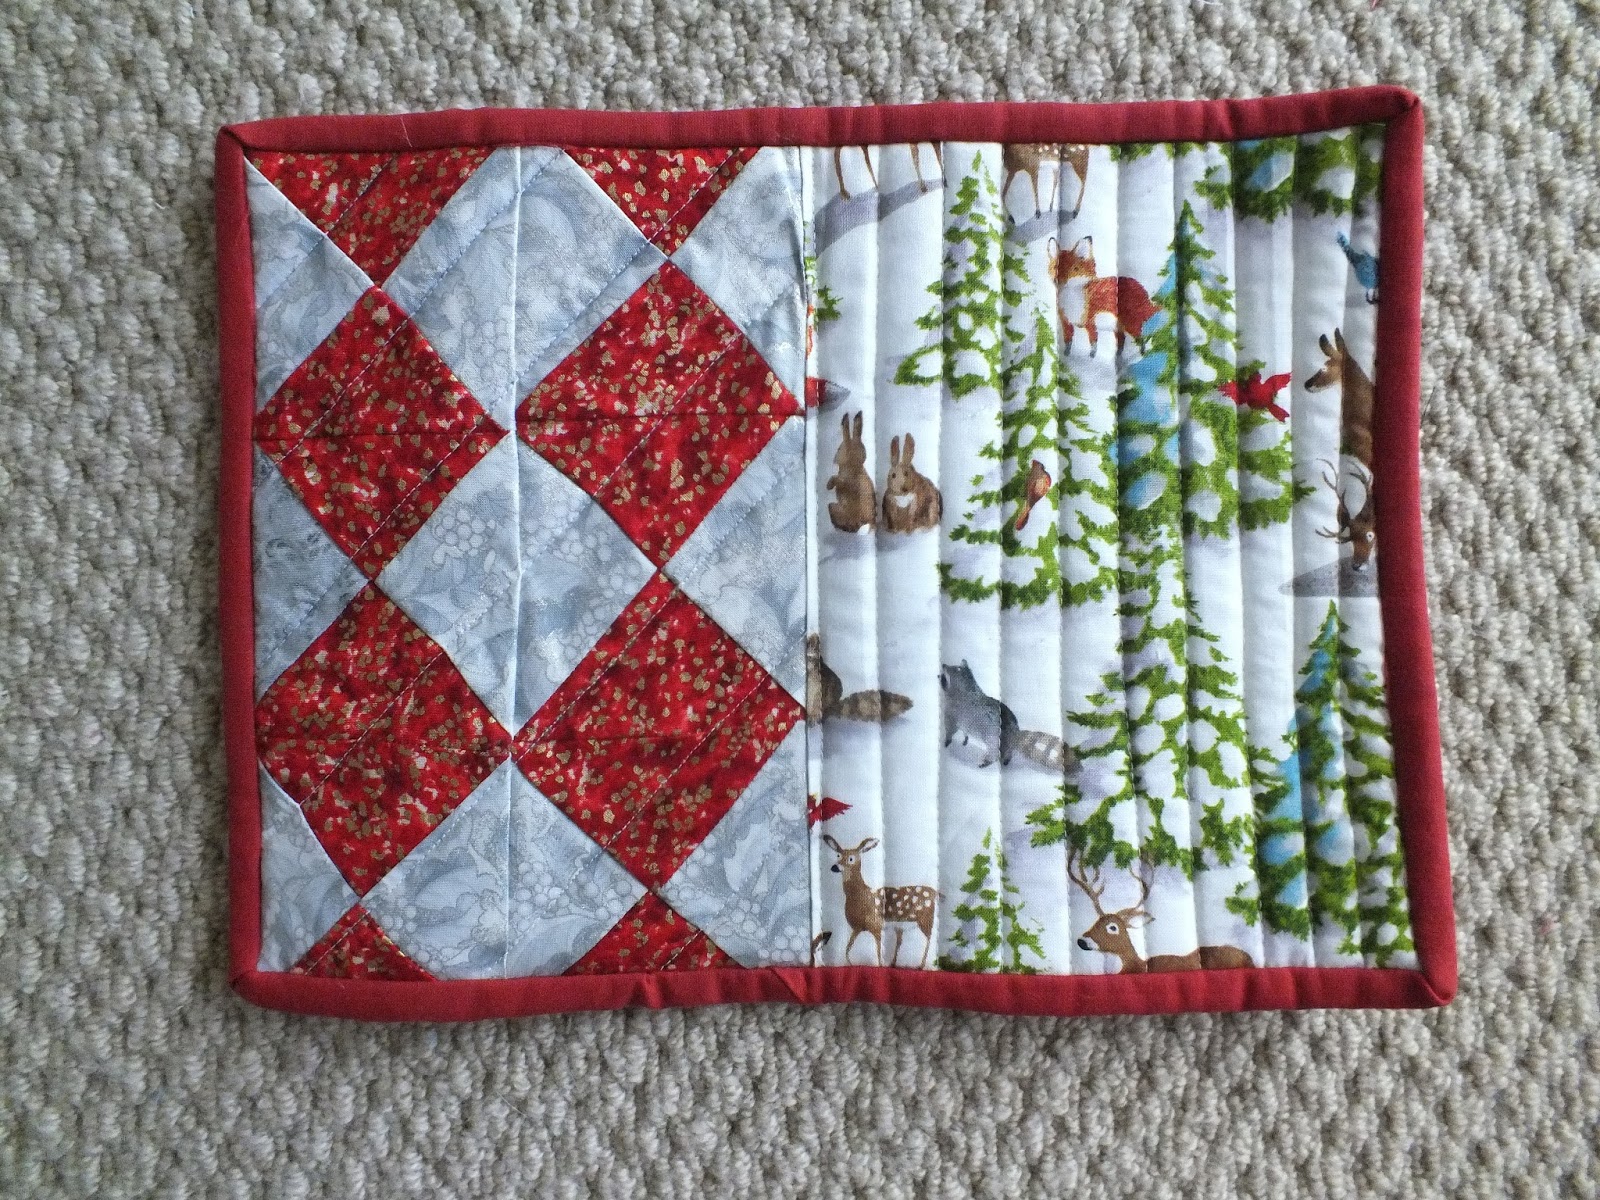
And as a little extra, my partner put in a little mug rug too with cute little bunnies frolicking through pine trees and deer, fox and birds as well.  Perfect for adding a little more Christmas to my side table!

Table Runners - Snowyflakes & Stars

Before Christmas 2015, the Facebook group I'm part of decided to do a table runner swap - you make one and send it to someone, then someone else sends you one.  I'd never made a table runner before, but figured it'd be like a quilt, only longer and narrower?!  On to Pinterest again for ideas....then it struck me, as it was Christmas themed, I'd do stars!

Around the same time we made a lovely Swoon quilt for the leader of our FB group, who had had a few setbacks.  As I'd never made a Swoon block before, I wanted to practice and, with a table runner swap coming up, what better practice block colour scheme than the one I was using for my table runner!?

So, I practiced with the reds, dark green, snowflakes/stars and a paler blue...it came out okay, a bit bigger than it was supposed to be for the Swoon block, but that was okay as it was a practice.  Our signature block for the Swoon quilt was called a Wonky Star - perfect again for my table runner.  I set about making four sets of wonky stars for the front and another as my signature block for the back of the table runner.
Signature Wonky Star block

Centre Swoon with dark navy/white stars sashing

The two sets of Wonky Stars for the front

In the end, it all came together quite well, although I was quite nervous and had to make a trip to the local fabric shop to get a bit of advice.  The white sashing between all the blocks was purchased from there and has silver snowflakes all over it, which have a bit of a sparkle to them - after all, what's Christmas without a sparkle??

 The finished product!

Monday, 23 May 2016

Mini Quilts

I'm part of a Facebook group that is all about quilting, sewing and creating.  It's a great group of supportive women, all at different stages in their quilting journies and who are able to offer advice, support and also teach each other about different techniques, etc.  If you'd said to me ten years ago I'd be involved in this sort of group, I'd have laughed at you!  But now, I check that page several times a day, share stuff on it, comment on others posts, it's fabulous!!

Within the group, we had an organised swap of mini quilts - 18" square-ish.  It was the first time I'd ever made something like that, never even considered making anything like that to be honest. 

Thank goodness for Pinterest!!  I was able to search on there for ideas as to what to do.  I settled on a tree with applique leaves that I ironed on using fusible webbing and then sewed very close to the edge with a small straight stitch and my zipper foot.
 
 I was also able to make the label for the back with my machine's script feature - it has three different styles of writing letters and both capital and lower-case as well as matching numbers.  Very handy as it makes really neat labels! 
I went with the zigzag type binding because it had all the colours I'd used in the leaves and didn't seem too bright that it would detract from the quilt itself.

In return I received a lovely floral mini quilt from my partner with lots of colourful flowers appliqued on the front.  It's really vibrant and bright, using purple batik fabric around the outside.
And, of course the signature label on the back to remind me who I received it from and when.  You can see the batik a bit closer in the second photo too, showing how vibrant it really is and with all the other colours throughout, as is custom of batik fabrics.

Monkeys for Hospice

Also, after quite a long break, I'm getting back into monkey-making, slowly!  I've completed three in the past few weeks - see, slowly.....

I was asked to make two monkeys for two little boys who are going to lose their mother soon.  She's in hospice care with cancer and doesn't have very long to go.  They are going to need something to hug and hold when she's no longer able to and I hope they will like their monkeys.  I tried to make them bright colours, cheerful colours for them.  I don't know the two boys at all, but hopefully they will feel the love in the monkeys when they hold them.

I was donated both sets of socks for each of the monkeys - the red with stars and grey/navy stripes with stars socks are two separate pairs and I have made the reverse monkey before too (with the red body and the striped arms, ears, tail).  The navy/aqua striped socks had a zebra face on the toe, you can just see the ears peeking out below the monkeys chin!
The lovely Lynn donated these socks so I wanted to name the monkey after her.  After a bit of discussion, we decided Lync would be the perfect name for him.  He now has a name tag and also a red ribbon around his neck.

These socks were donated to me by a lady called Jo, as this was for a little boy I chose to add the 'e' to his name, so please meet Joe the monkey.  I still have the other socks from each of the pairs so I will make up another monkey, although with the zebra face it will have to be the striped body again so I might mix it up and change the sock I use for the arms, tail, ears.  I like to make monkeys that are different rather than all the same, makes them more unique for each child!